![Food By Mom [Yuno Marioni]](https://substackcdn.com/image/fetch/$s_!XoPz!,w_80,h_80,c_fill,f_webp,q_auto:good,fl_progressive:steep,g_auto/https%3A%2F%2Fsubstack-post-media.s3.amazonaws.com%2Fpublic%2Fimages%2Fdd81a4bd-aabf-4b7b-8e7d-497bad885d15_720x960.jpeg)

![Food By Mom [Yuno Marioni]](https://substackcdn.com/image/fetch/$s_!XoPz!,w_36,h_36,c_fill,f_webp,q_auto:good,fl_progressive:steep,g_auto/https%3A%2F%2Fsubstack-post-media.s3.amazonaws.com%2Fpublic%2Fimages%2Fdd81a4bd-aabf-4b7b-8e7d-497bad885d15_720x960.jpeg)
Fruit & Nut Crackers: Elegant, Easy, and Charcuterie-Ready
Who knew these crackers were so easy to make at home?! And the best part — you can customize them however you like! I used to buy them for my charcuterie boards, but not anymore!


Crunchy, chewy, sweet, and savory — these crackers have it all! And honestly, who knew they were so easy to make at home? I love putting together charcuterie boards whenever we gather with friends and family, and these crackers used to be something I always picked up from the store. But not anymore! They’re simple to make, endlessly customizable, and so much better (and cheaper!) than store-bought.
This recipe has been adapted from crowded kitchen and recipe tin eats.
Note: Homemade crackers seem to get soft faster than store-bought ones, so I thought I’d share a few tips that have worked for me.
You can keep them crisp by tossing a food-safe desiccant (like the little silica packs from seaweed) in the container. If you don’t have a desiccant, wrap a spoonful of dry rice in cheesecloth and toss it in to soak up any extra humidity.
Pop them in a 300°F oven for 5–8 minutes to crisp them back up.
Make about 40~42 slices
Ingredients
1/2C AP flour
1/2C whole wheat flour
1 tsp baking soda
1 tsp Kosher salt
1/4C brown sugar
1 tbsp fresh rosemary, finely chopped (or 1 tsp dried rosemary)
1 tbsp fresh thyme, finely chopped (or 1 tsp dried thyme)
1/2 tsp cinnamon
a pinch of nutmeg
a pinch of black pepper
3/4C dried fruit of your choice, chopped (apricots, figs, dates, raisins, cherries etc or mix)
3/4C nuts or seeds of your choice, chopped (pecans, pumpkin seeds, flax seeds, pistachios, walnuts etc or mix)
1 tbsp orange zest or 1 tsp dried orange zest
1C milk (I use 1%, but any kind works.)
Instructions
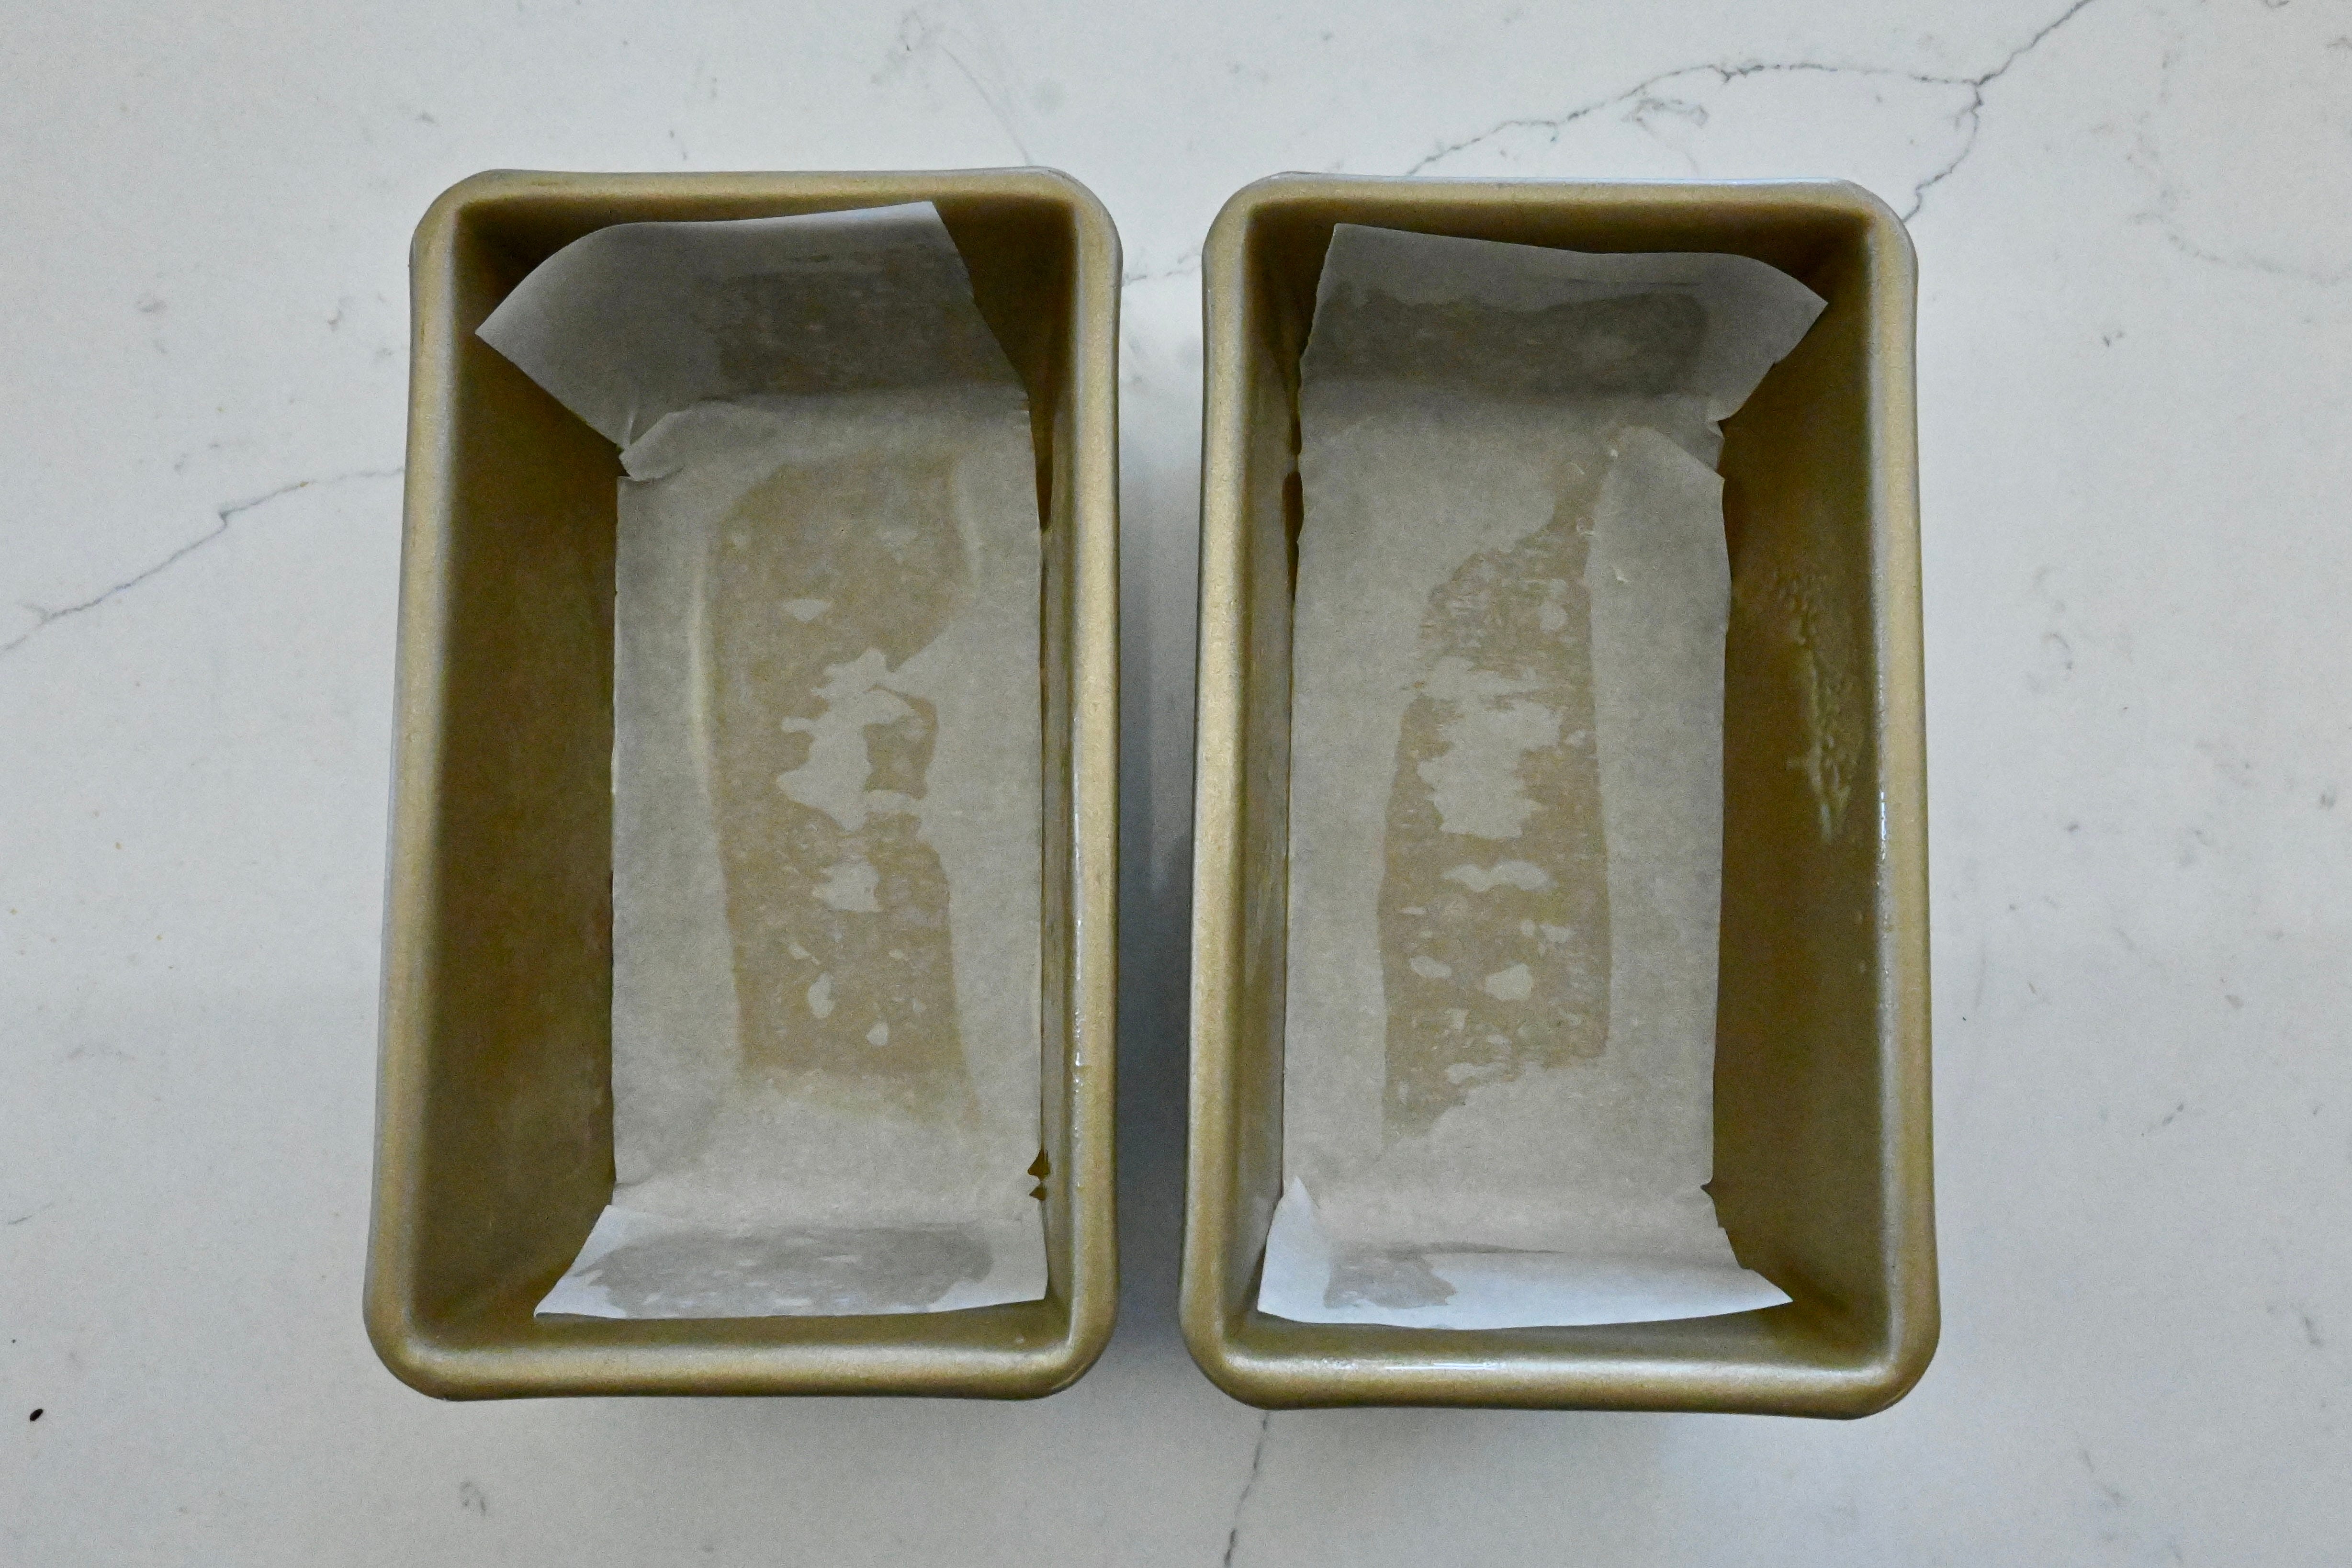
Preheat your oven to 350°F. Lightly spray the bottom and sides of two mini loaf pans (5½ x 3¼ inches) with cooking spray. Optional: for easier removal, line the bottoms of the pans with parchment paper.

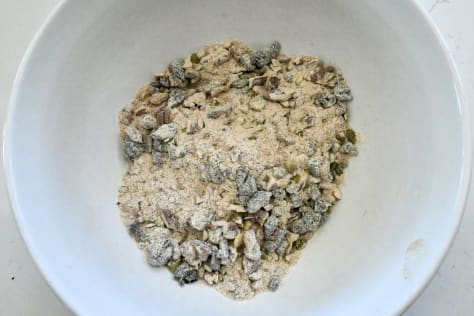
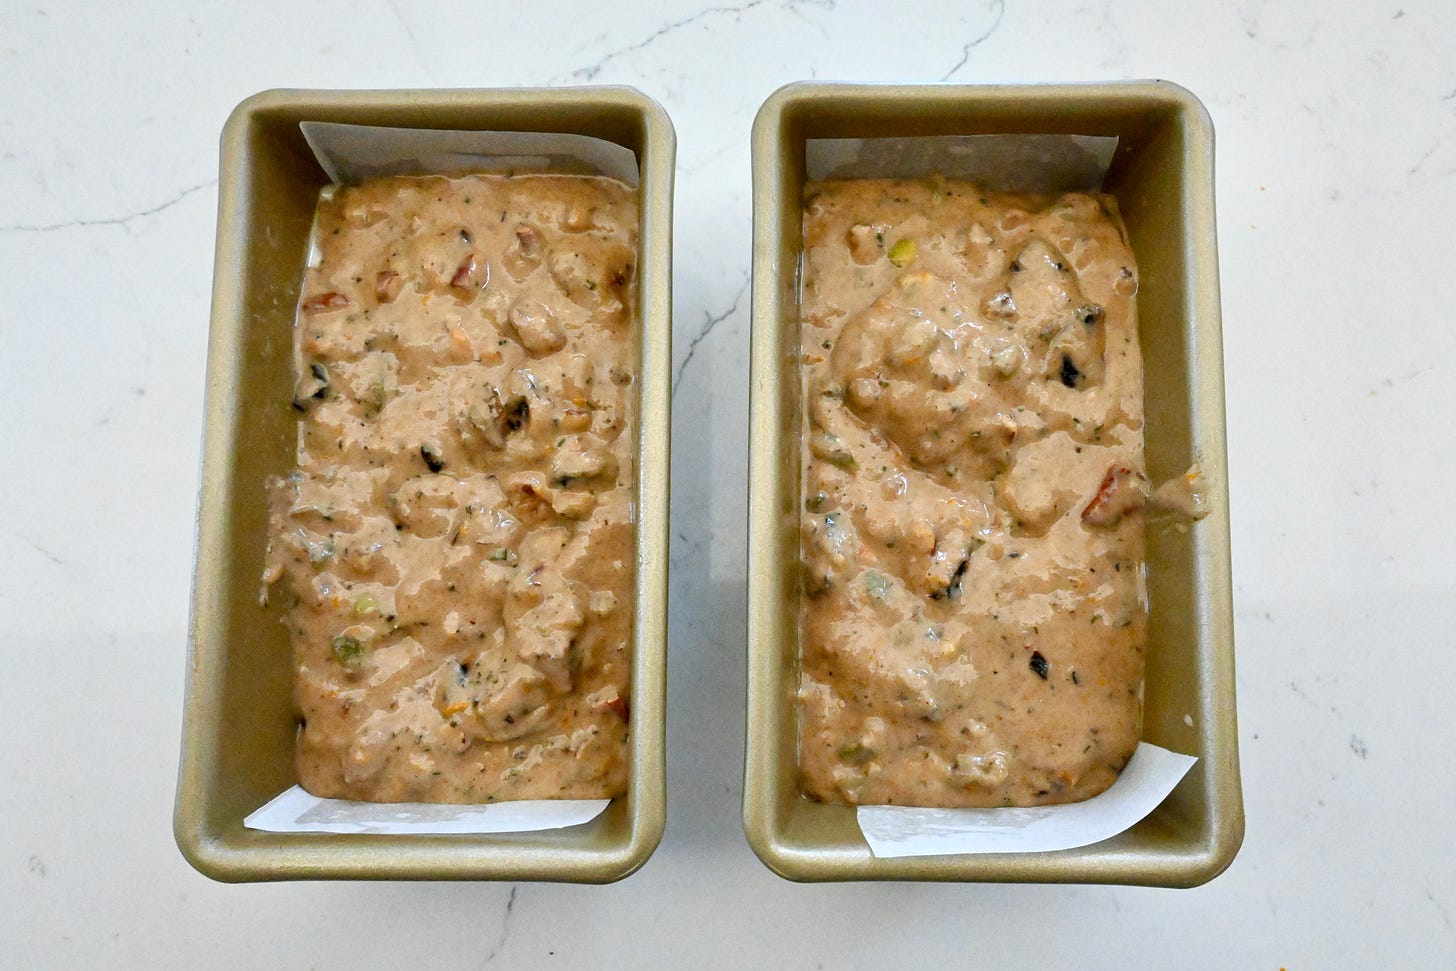
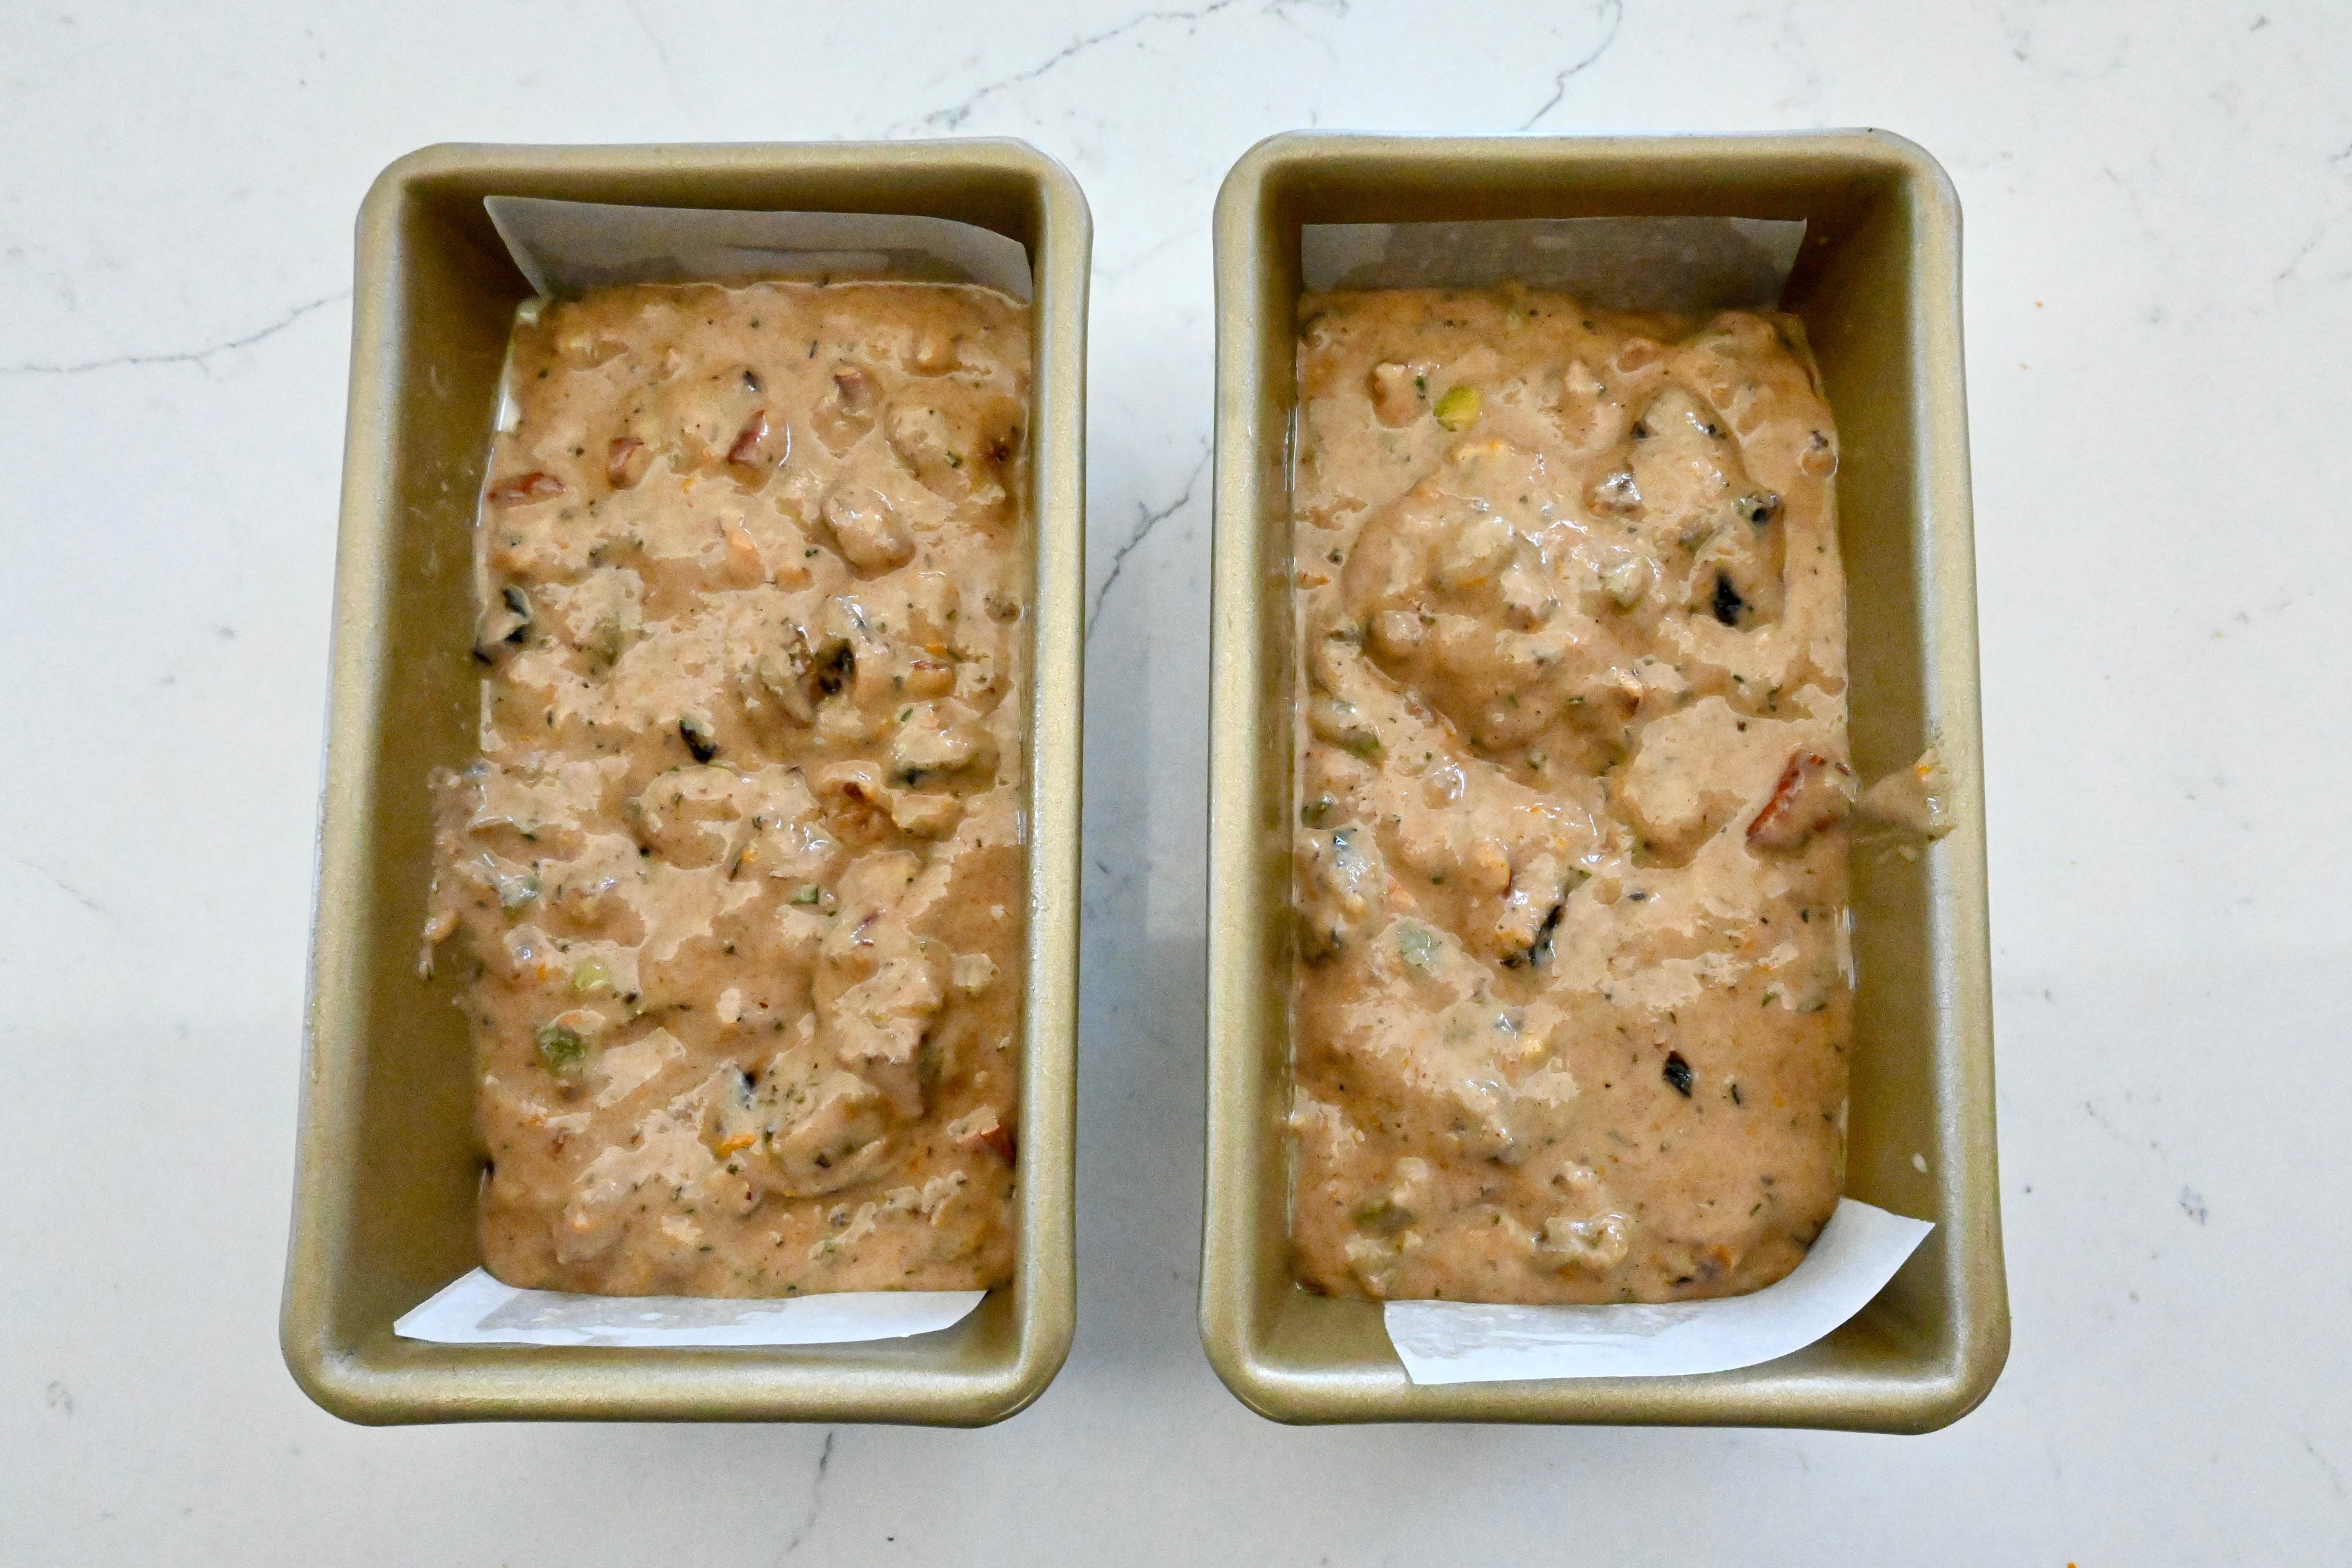
In a large mixing bowl, combine all the ingredients except the milk. Stir until everything is evenly mixed. Pour in the milk and stir again until fully combined.


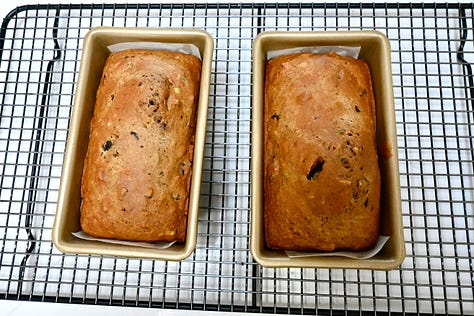
Divide the batter evenly between the two prepared mini loaf pans. Bake for 25–28 minutes, or until a toothpick inserted in the center comes out mostly clean with a few moist crumbs.
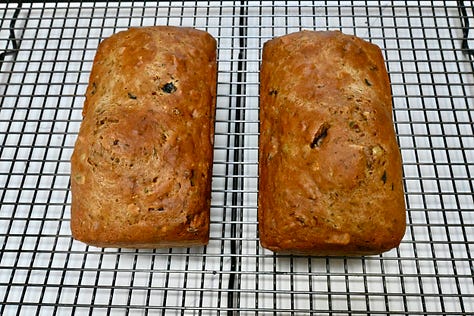
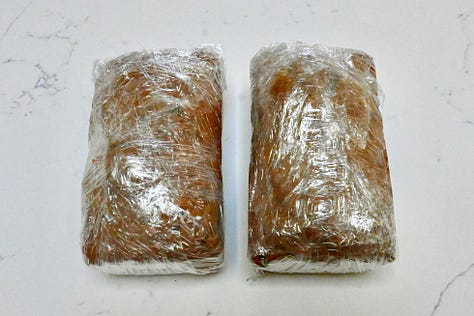
Let the loaves cool to room temperature. Wrap them tightly in plastic wrap and freeze for at least 2 hours. (Note: I like the loaf almost frozen because it makes thin slicing so much easier. You can also leave them frozen for up to 3 months — just be sure they’re well wrapped to stay fresh.)
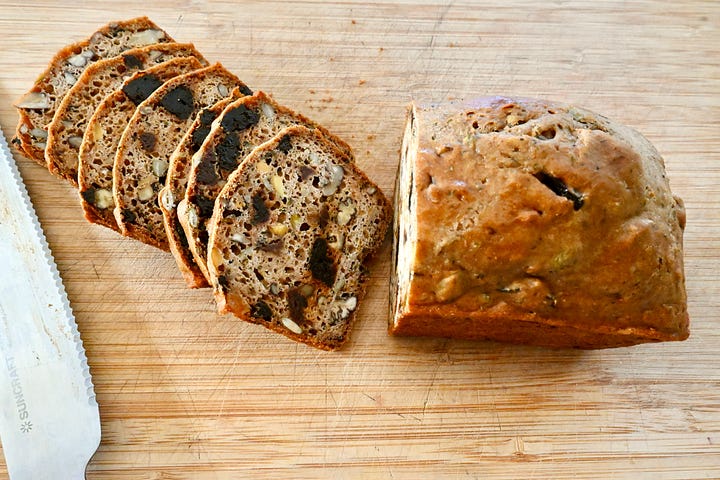
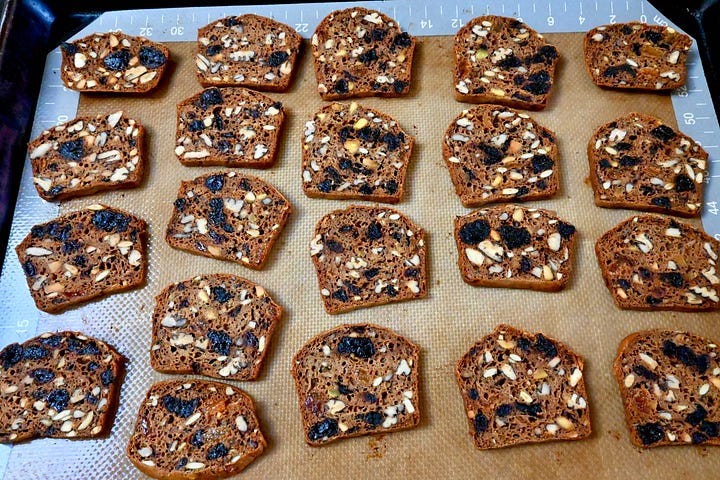
When ready to dry out the crackers, preheat your oven to 300°F. Remove the loaves from the freezer and slice them into 1/8-inch thick slices using a sharp serrated knife. Arrange the slices in a single layer on a baking sheet lined with silicone mat or parchment paper.

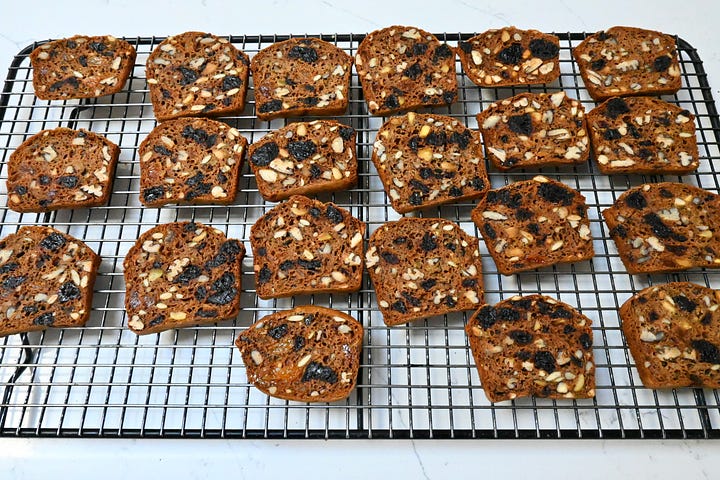
Bake for 12 minutes, then carefully flip each cracker over. Bake for another 12 minutes, then check for doneness — the crackers should be golden and crisp. If they need more time, flip them again and continue baking for about 5 minutes, checking frequently to avoid over-browning.


Disclaimer Note: We're all about sharing here! But please credit recipes and photos if you choose to send these along. Thank you!