![Food By Mom [Yuno Marioni]](https://substackcdn.com/image/fetch/w_80,h_80,c_fill,f_webp,q_auto:good,fl_progressive:steep,g_auto/https%3A%2F%2Fsubstack-post-media.s3.amazonaws.com%2Fpublic%2Fimages%2Fdd81a4bd-aabf-4b7b-8e7d-497bad885d15_720x960.jpeg)

![Food By Mom [Yuno Marioni]](https://substackcdn.com/image/fetch/w_36,h_36,c_fill,f_webp,q_auto:good,fl_progressive:steep,g_auto/https%3A%2F%2Fsubstack-post-media.s3.amazonaws.com%2Fpublic%2Fimages%2Fdd81a4bd-aabf-4b7b-8e7d-497bad885d15_720x960.jpeg)
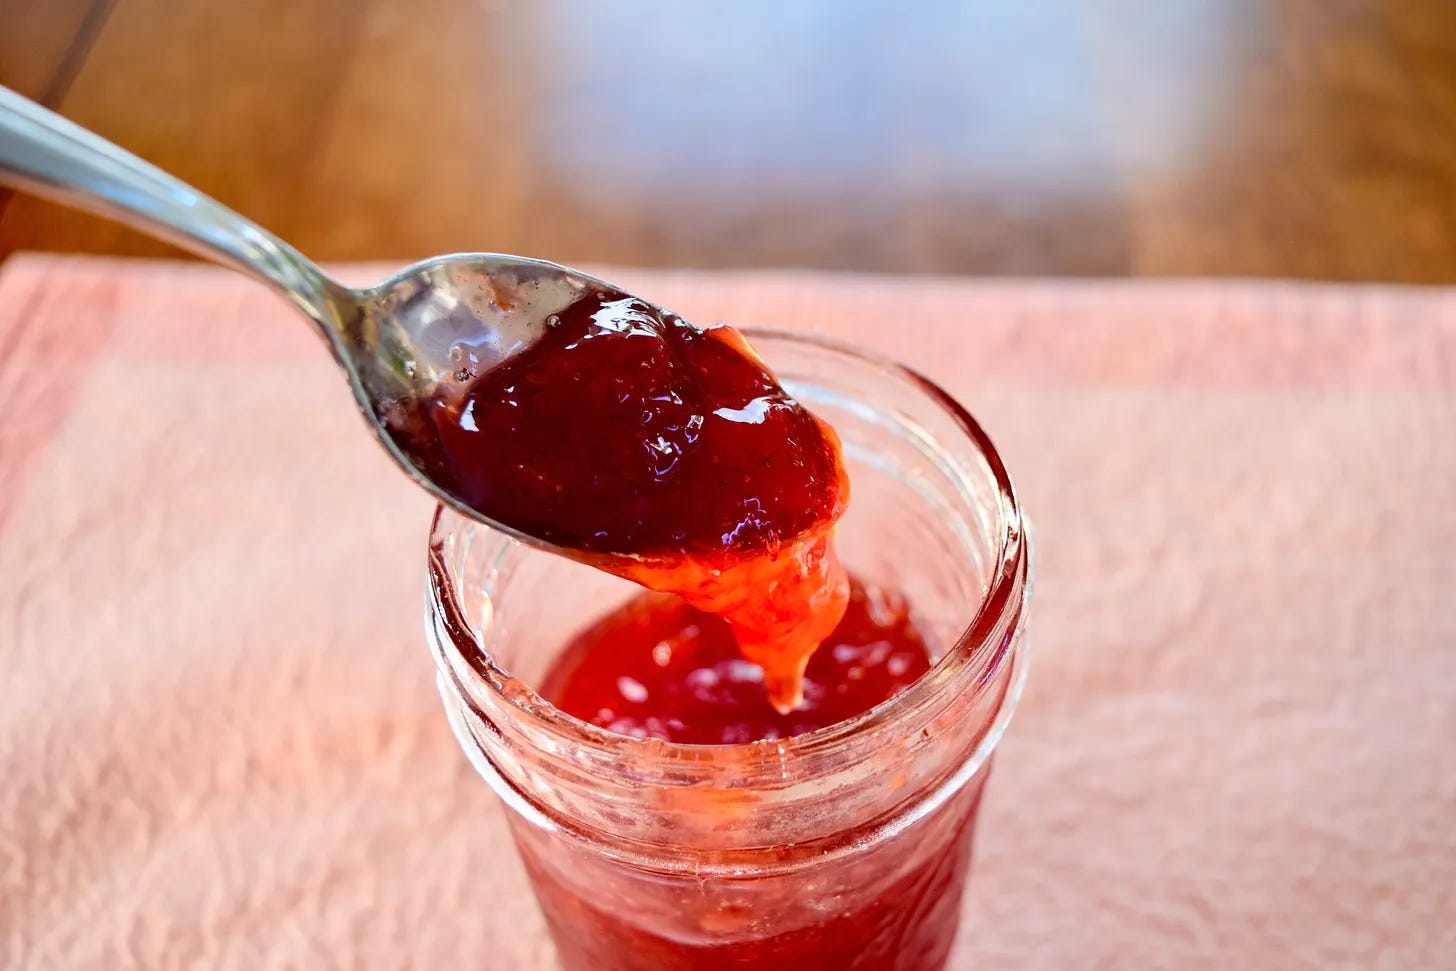
Beginner-Friendly Fresh Strawberry Jam (No Pectin!)
Strawberry jam is a classic favorite – easy, simple, and delicious!

The sweet taste of strawberry jam instantly brings me back to my childhood days. As a kid, I would savor a slice of toast smothered in butter and strawberry jam for breakfast on most mornings.
This no-pectin strawberry jam requires only three ingredients: fresh strawberries, sugar, and lemon. The result is a deliciously spreadable preserve that's so easy to make. But you need to know a few things:
I know it’s lots of sugar… but you really do need all of them!
Continue to a rolling boil until the temperature reaches 220°F. (If you reduce the sugar amount, the sugar-to-strawberry ratio will be off, and your jam may not reach the proper temperature of 220°F, which could prevent it from setting properly.)
There are two ways to store your jam: you can keep it in the refrigerator for up to a month or in the freezer for up to a year. If you prefer, you can also do canning, although it requires a bit more effort. If you choose canning, be sure to follow important steps like sterilizing the jars and lids, and processing the jars after filling them. Here’s why processing is necessary if you’re not storing in the freezer: ‘When you bottle a jar of jam for unrefrigerated shelf storage and don’t process the jar, you’re creating the ideal environment for germs or bacteria to thrive. The sealed lid only makes it worse by protecting these bacteria from other bacteria that could harm or out-compete them,’ according to Healthy Canning.
This recipe has been adapted from Butter with a side of bread and Sweet and Savory.
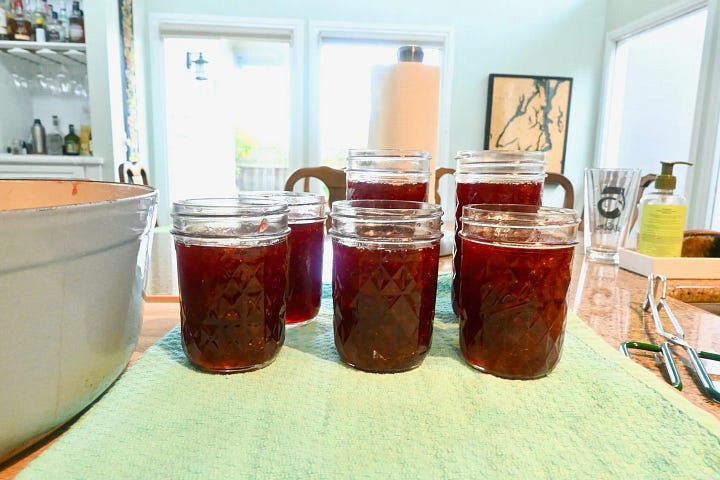
make 8 8-oz mason jars
Ingredients
8C strawberries
1 lemon zest
1C lemon juice
6C sugar
Instructions
Wash and hull strawberries. Cut in quarters.

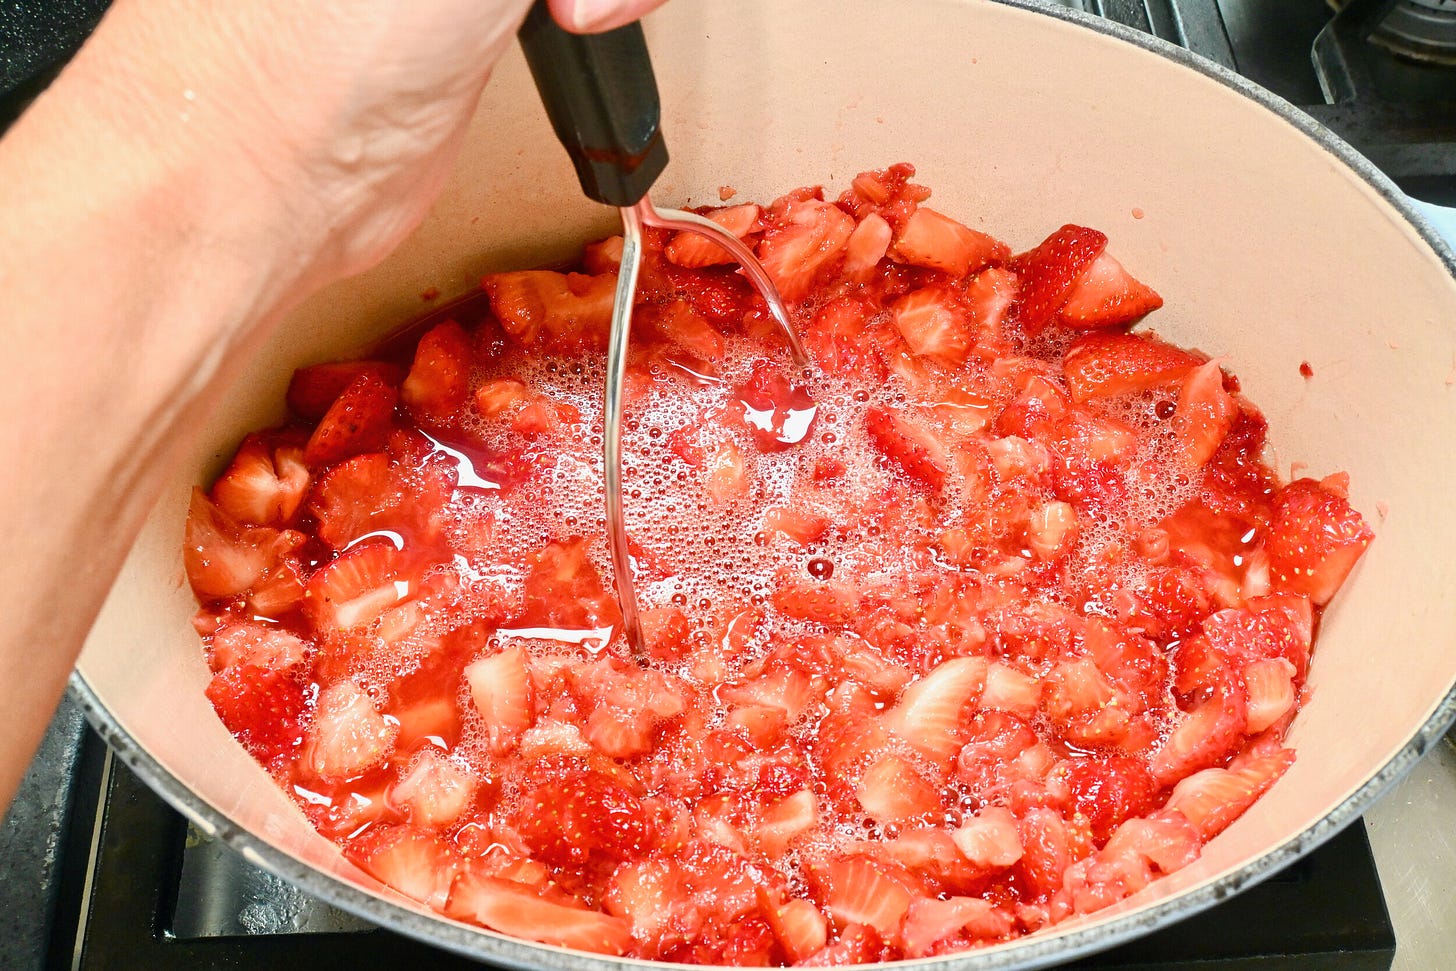
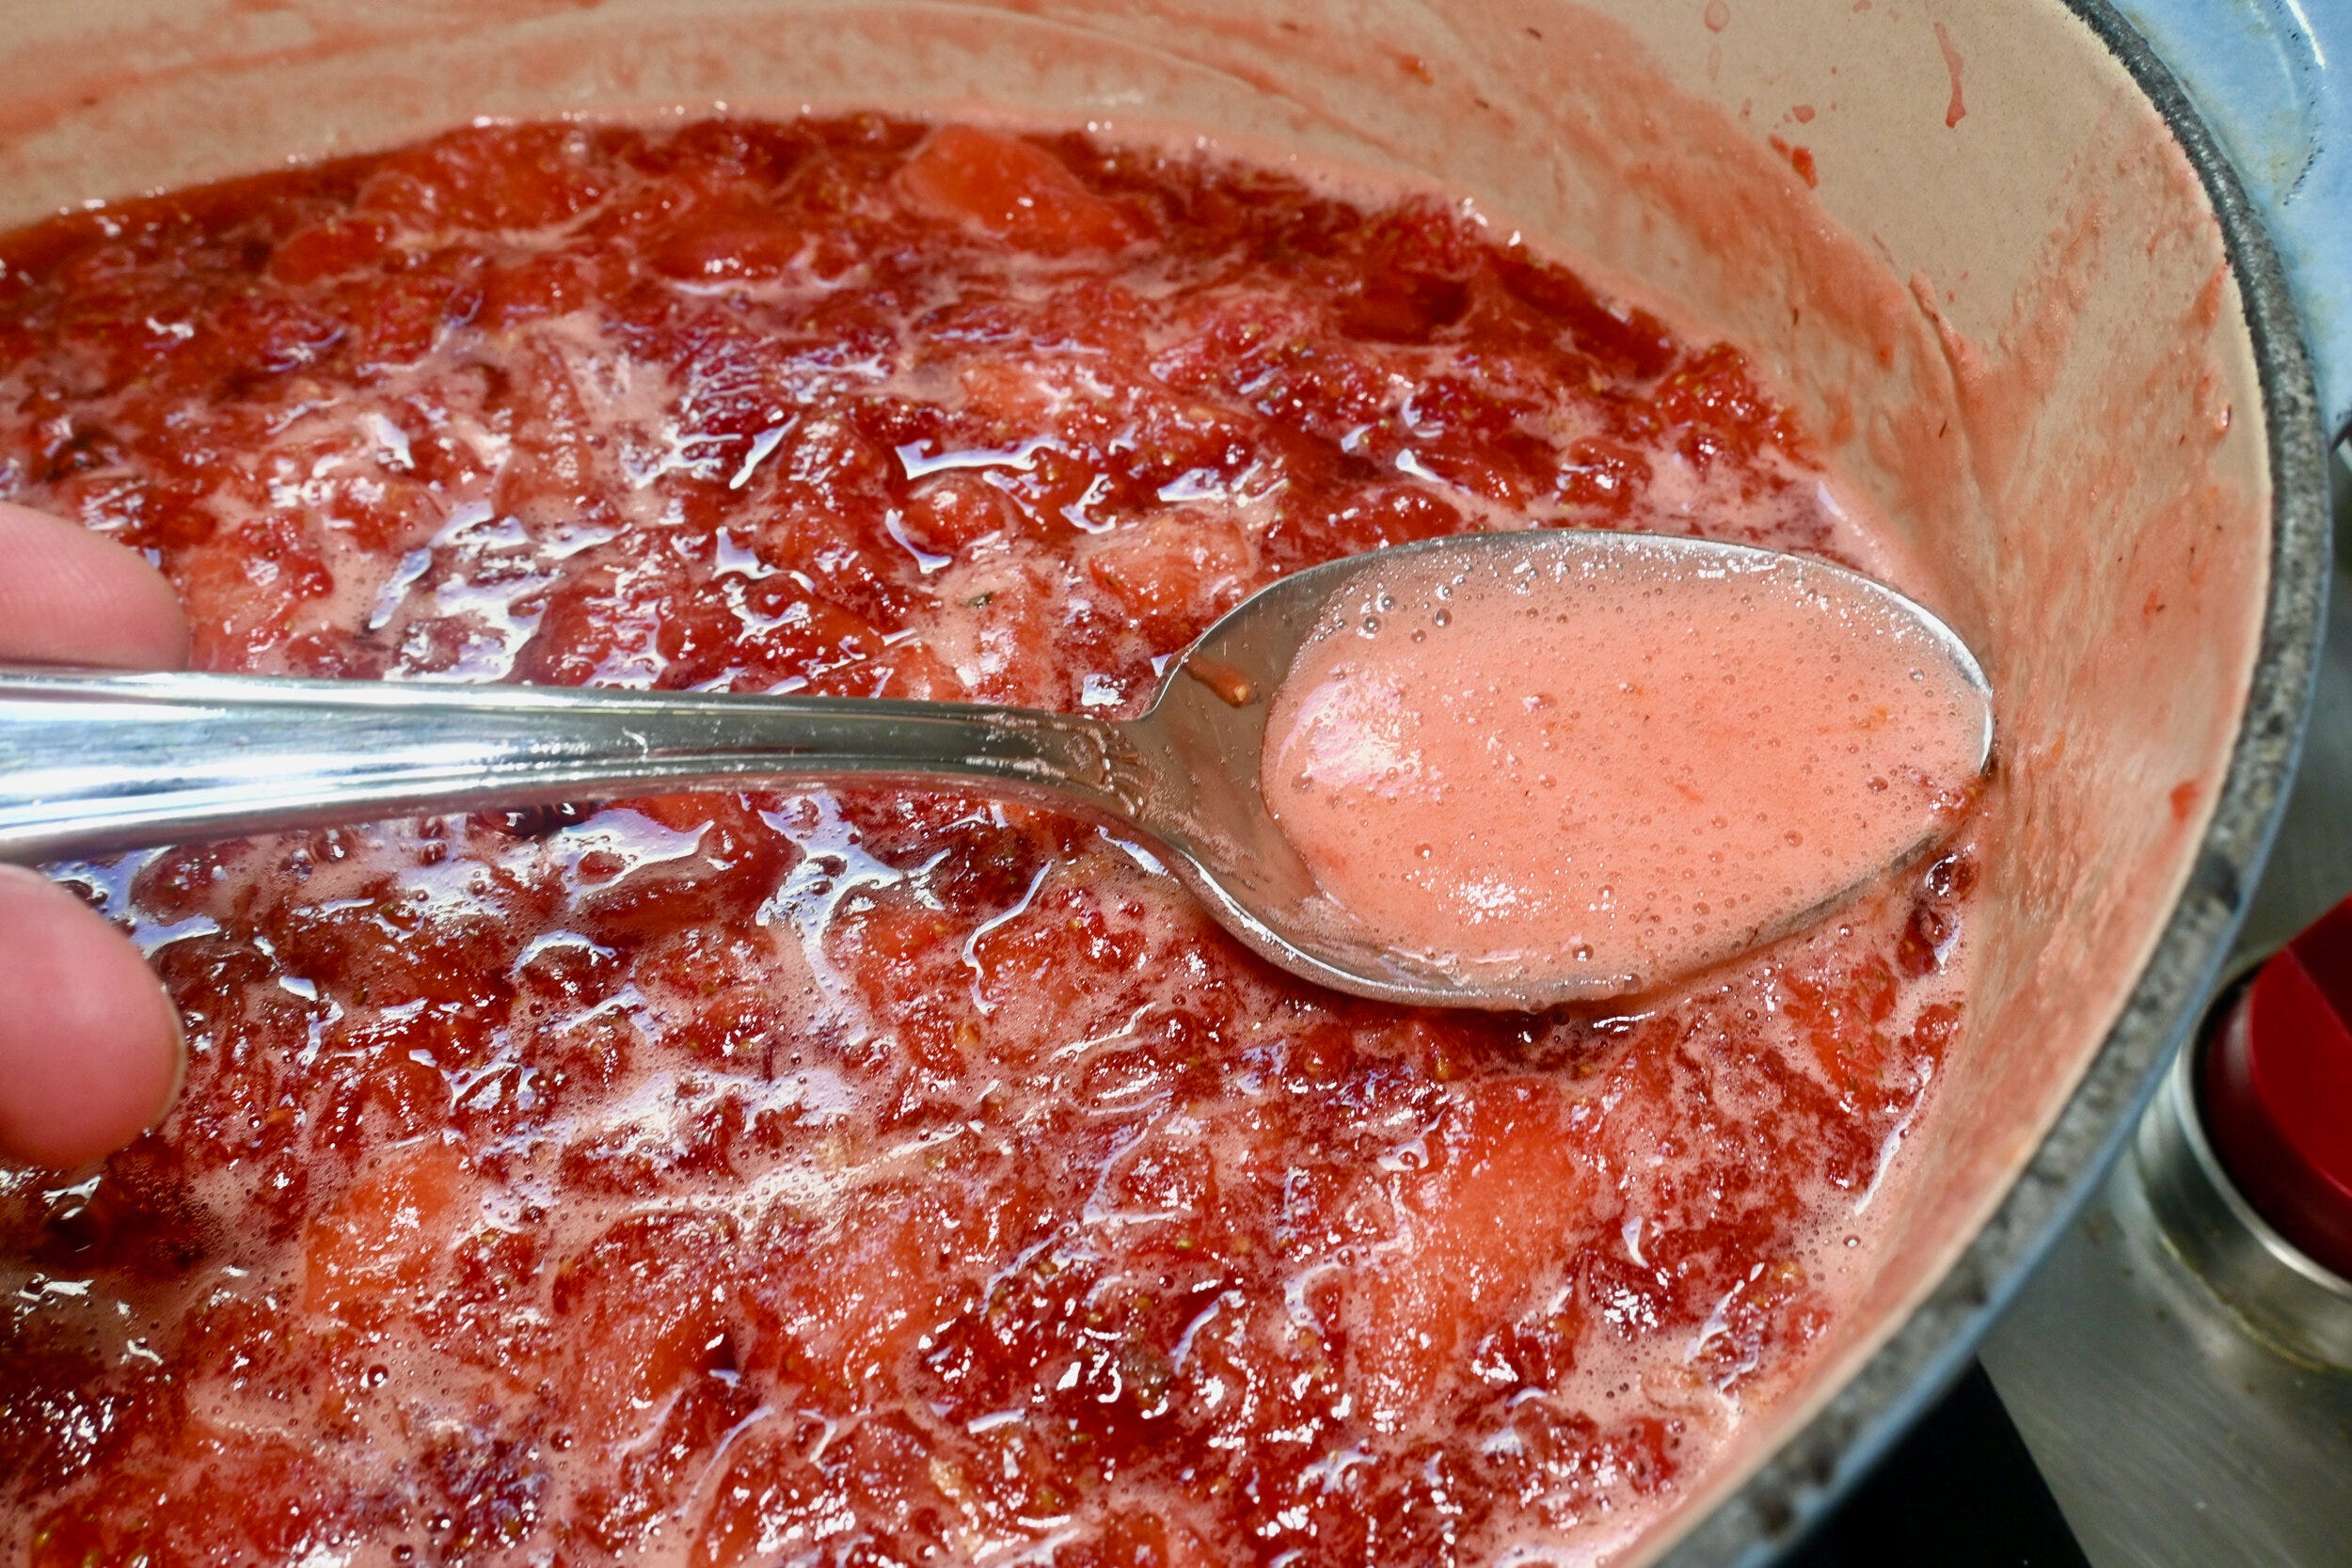
Place the strawberries in a Dutch oven and crush them with a potato masher. You can also use an immersion blender, but be careful not to over-blend.
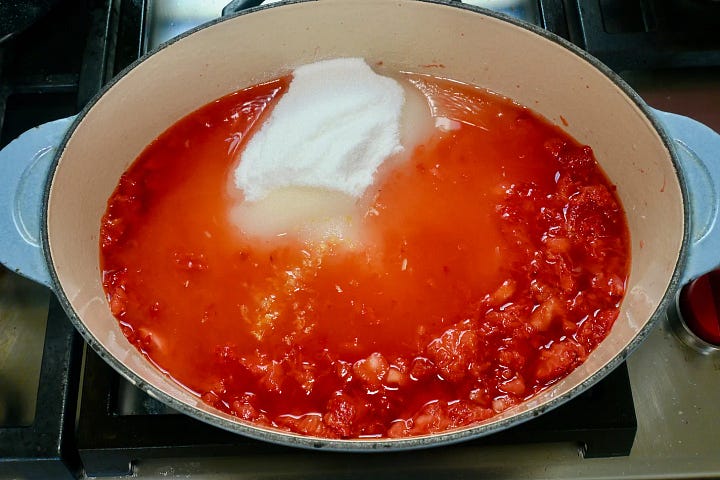
Stir in the lemon zest, lemon juice, and sugar with a wooden spoon over low heat until the sugar dissolves. Then, bring to a rolling boil.

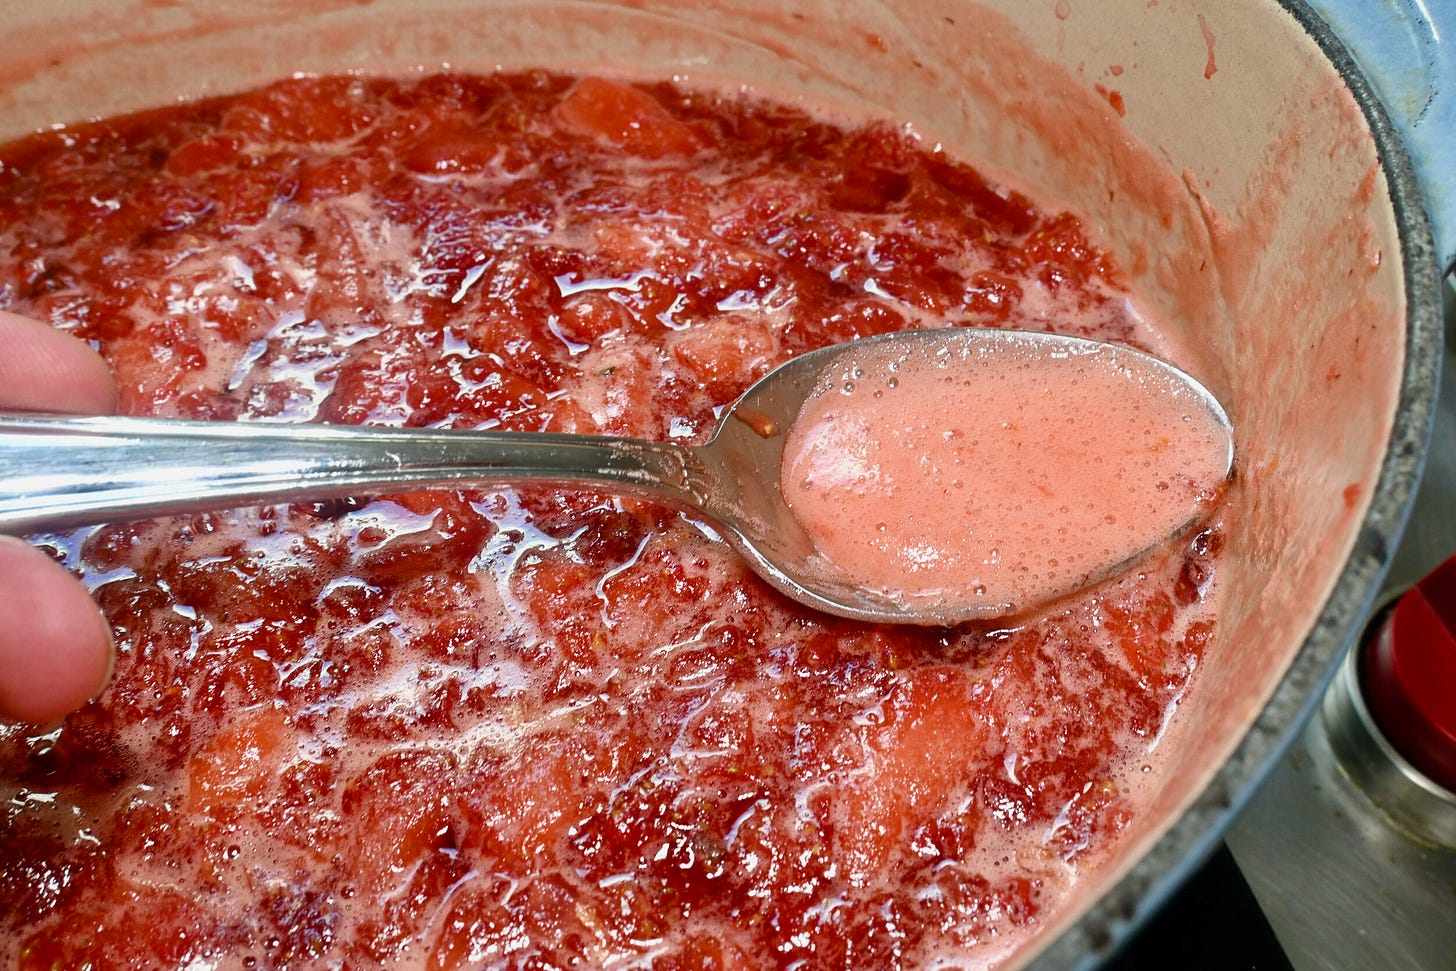
Stir frequently, continuing to boil until bubbles cover the entire surface of the jam and the temperature reaches 220°F (this took me about 20–25 minutes). Remove from heat and skim off as much foam as possible with a spoon.
Ladle into hot, sterilized jars, leaving about 1/4 inch of headspace. Seal with a lid and secure with a ring, but do not overtighten.

Processing the Jars: Place the jars into the same pot used for sterilization, ensuring they are fully submerged with about an inch of water covering them. Bring the water to a boil. Once boiling, set a timer for 10 minutes. Remove the jars from the pot and let them cool for 12–24 hours. Once completely cooled, check the seals by removing the rings and gently lifting the lid by its edges. A properly sealed jar should hold without coming loose. Store in a cool, dry place for up to 2 years.
Storing in the refrigerator/Freezer:
After ladling the jam into jars, let them cool to room temperature. Seal with lids and rings, then store in the refrigerator for up to 1 month or in the freezer for up to 1 year.


How to sterilize your jars
I researched many methods, but I prefer using Food Network's instructions. They’re easy to follow, though I added a bit more detail.
Wash jars and lids with soapy water and rinse them with hot water.

Place the jars on a rack in a pot of water. Bring to a rolling boil and boil for 8–10 minutes, then reduce the heat and simmer until ready to use.

Meanwhile, place the lids and bands in a separate saucepan with simmering water until ready to use. Do not boil.

Just before filling, carefully remove the jars from the water using a jar lifter or tongs. Shake out any excess water and transfer them to a clean kitchen towel. Leave the hot water in the pot for processing the filled jars.


Disclaimer Note: We're all about sharing here! But please credit recipes and photos if you choose to send these along. Thank you!